OpenVPN
The VL7M19K router includes pre-installed OpenVPN server and client software.
OpenVPN Server
You can set up an OpenVPN server on the VL7M19K router. Click + Generate a configuration file to begin.
(1)Server Configuration
Preset OpenVPN server configurations are available. You can also click Modify to adjust settings manually. Click Apply when finished.
- Allow Access Local Network: Enabling this allows all clients connected to the OpenVPN Server to access your LAN. Use this feature with caution.
Warning
You cannot run the VPN Client and Server simultaneously. Additionally, you cannot run the OpenVPN Client and WireGuard Client at the same time.
(2)Exporting OpenVPN Configuration File
Click Export Config to download the OpenVPN configuration file, which you will need to upload when configuring your OpenVPN client.
(3)Starting the OpenVPN Server
Click Start to activate the OpenVPN server. Without starting the server, you cannot connect to it using the configuration file.
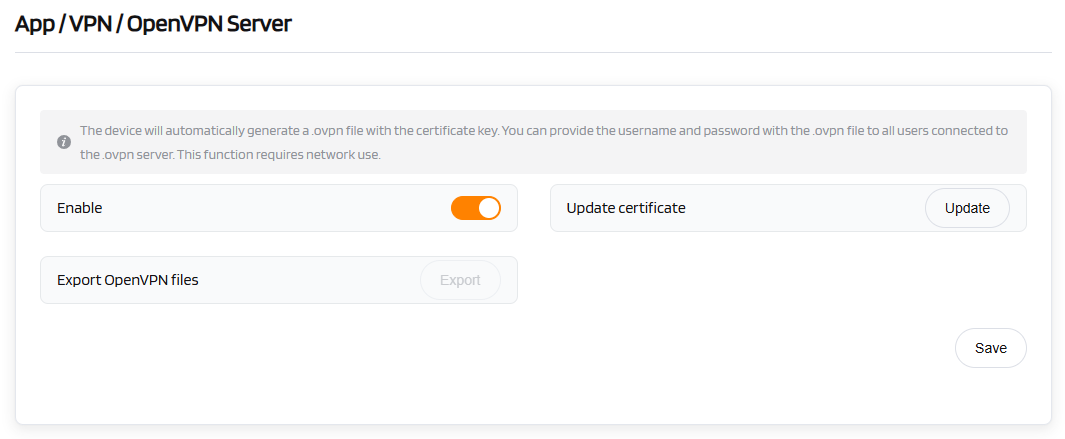
| OpenVPN Server | Configuration |
|---|---|
| Enable | [Toggle to enable] |
| Export OpenVPN Files | [Download the configuration file] |
| Operation | Save |
Tip
The device automatically generates a configuration file. If you need to set a username and password for the OpenVPN server, include them with the .ovpn file and distribute them to all users who need to connect. This function requires network connectivity.
OpenVPN Client
The OpenVPN client requires an OpenVPN configuration file (.ovpn) to establish a connection. If you have a VPN service provider but do not know how to obtain the configuration file, refer to the "Obtaining Your Configuration File" section below. Click + Add a New VPN Configuration to upload the configuration file.
(1)Uploading Your OpenVPN Configuration File
Drag and drop the file into the pop-up window. You can upload a single .ovpn file or a compressed zip/tar.gz file containing multiple .ovpn files.
Note
Some .ovpn files require separate ca, cert, or crl files. These files must be zipped together with the .ovpn file before upload.
(2)Entering Description, Username, and Password
Enter a description for your OpenVPN configuration file, then click Submit to complete the upload. In some cases, you may be prompted to enter your VPN username and password.
(3)Connecting to the OpenVPN Server
Click Connect to start the OpenVPN connection.
If your configuration file is a compressed archive (e.g., .zip), you can switch between servers using the cog icon.
Once connected, you can view your IP address and data transfer statistics (received/sent).
Warning
You cannot run the VPN Client and Server simultaneously. Additionally, you cannot run the OpenVPN Client and WireGuard Client at the same time.
(4)Managing Configuration Files
Click Management to view the list of configuration files. You can modify the description, username, or password for each file. You can also add, delete, or delete all uploaded configuration files.
If your configuration file is a zip/tar.gz file containing multiple .ovpn files, you can select an individual .ovpn file to connect to in the Server section.
(5)Obtaining Your Configuration File
We have tested various VPN service providers. If you do not know how to obtain the configuration file, follow the instructions below. If your service provider is not listed, contact them directly for the configuration file.
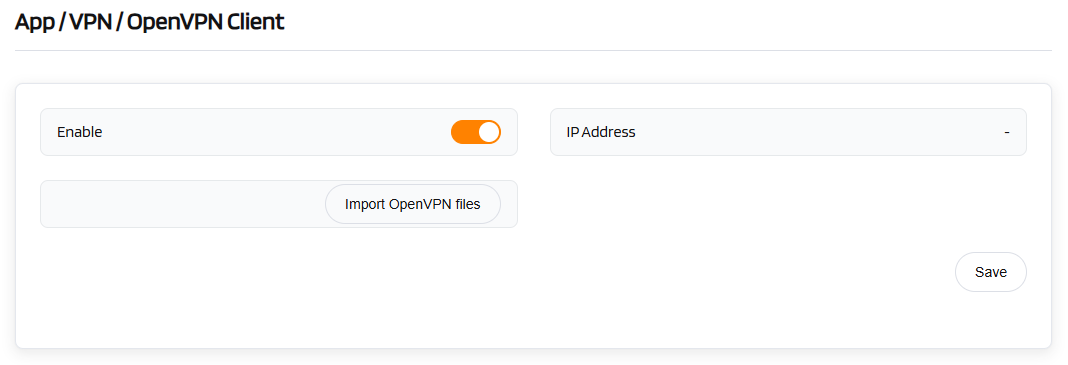
| OpenVPN Client | Configuration |
|---|---|
| Enable | [Toggle to enable] |
| Import OpenVPN Files | [Upload the configuration file] |
| Operation | Save |